

Functional Permissions
Functional permissions, also known as operational permissions, determine which system features or operations a user can access. This includes: whether APIs can be called, whether buttons are clickable, and whether pages and menus are visible.
Preset Roles
Admin
Admin
Has all permissions. Suitable for core members who need complete management capabilities. The Admin permission bitmap queries
account_id IN (0, current account ID) with no upper bound on permission IDs, so it automatically includes every custom menu visit permission for that account — no explicit role binding required.Responder
Responder
Has all system permissions except “Payment Center”, “Members Manage”, “Roles Manage”, and “SSO Manage”. Suitable for members handling daily operations work. The Responder query adds an
id < 100000 filter. Custom menu permission IDs are Snowflake-generated (far above 100000), so Responder does not automatically inherit any custom menu access — each menu must be explicitly bound to this role via the menu’s role_ids configuration.Viewer
Viewer
Has most read-only system permissions except “Audit” and “Onboarding”. Suitable for members who only need to view data. Like Responder, Viewer is also subject to the
id < 100000 filter and does not automatically inherit custom menu access — explicit role binding is required per menu.Permission List
The system divides permissions by product scope, with each permission point having Read and Manage types. Permissions are grouped and displayed under the following product scopes, each with a corresponding icon:- Platform: Organization management, payment center, and other foundational platform permissions
- On-call: Incident response, configuration management, status pages, and other on-call related permissions
- RUM: Frontend monitoring related permissions
- Monitors: Monitoring and alerting related permissions
- Custom menu: Account-level dynamic permission group; each configured custom menu becomes a permission point
When a permission point has both Read and Manage types, granting Manage permission automatically includes the corresponding Read permission — no need to select it separately.
System vs. account-level dynamic permissions
Flashduty’s permission points fall into two categories:- System permissions: Defined by Flashduty and identical across all accounts. They cover the built-in modules: Platform, On-call, RUM, Monitors.
- Account-level dynamic permissions: Generated from resources configured by the current account, and only visible within that account. The custom menu visit permissions are the canonical example — every custom menu the account adds spawns a matching permission point.
Custom menu permission group
Custom menu is a standalone permission scope, displayed alongside Platform, On-call, RUM, and Monitors. The group is rendered as a flat list — it is not further split into Read / Manage subclasses. Every custom menu configured under the account adds one permission point to this group:- Naming:
customMenu:visit:<menu_id>, where<menu_id>is the unique identifier of the custom menu. - Effect: Members granted this permission can see and visit the corresponding custom menu in the navigation; without it, the menu is hidden.
- Dynamic behavior: When a custom menu is deleted, the matching permission point disappears. When a custom menu is added, re-enter role editing to grant it to the relevant roles.
- Organization
- Payment
- Incident Response
- Configuration
- Status Pages
- Monitors
- RUM
- Other
Custom Roles
In addition to preset roles, you can create custom roles for more granular permission control. Configuration path: Platform Management → Role Management1
Create Role
Go to the role management page and click Create Role, then fill in the role name and description. You can also quickly create a role by copying an existing one.
2
Edit Role Information
On the role detail page, click the edit icon (pen icon) next to the role name or description to edit them inline. Changes are saved automatically.
3
Configure Permissions
On the role detail page under the Permission List tab, click Edit to enter editing mode. In editing mode, you can batch select to grant or revoke multiple permission points at once, then click Save when done.
4
Assign Members
On the role detail page under the Authorized Members tab, click Edit to enter editing mode. Use batch selection to add or remove members for this role, then click Save.
- System preset roles (Admin, Responder, Viewer) cannot be modified or deleted
- Custom roles support editing, copying, enabling/disabling, and deletion
- A member can hold multiple roles simultaneously; their effective permissions are the union of all assigned roles
Permission Matrix
Data Permissions
Data permissions, also known as access permissions, control the scope of data a user can access or view.
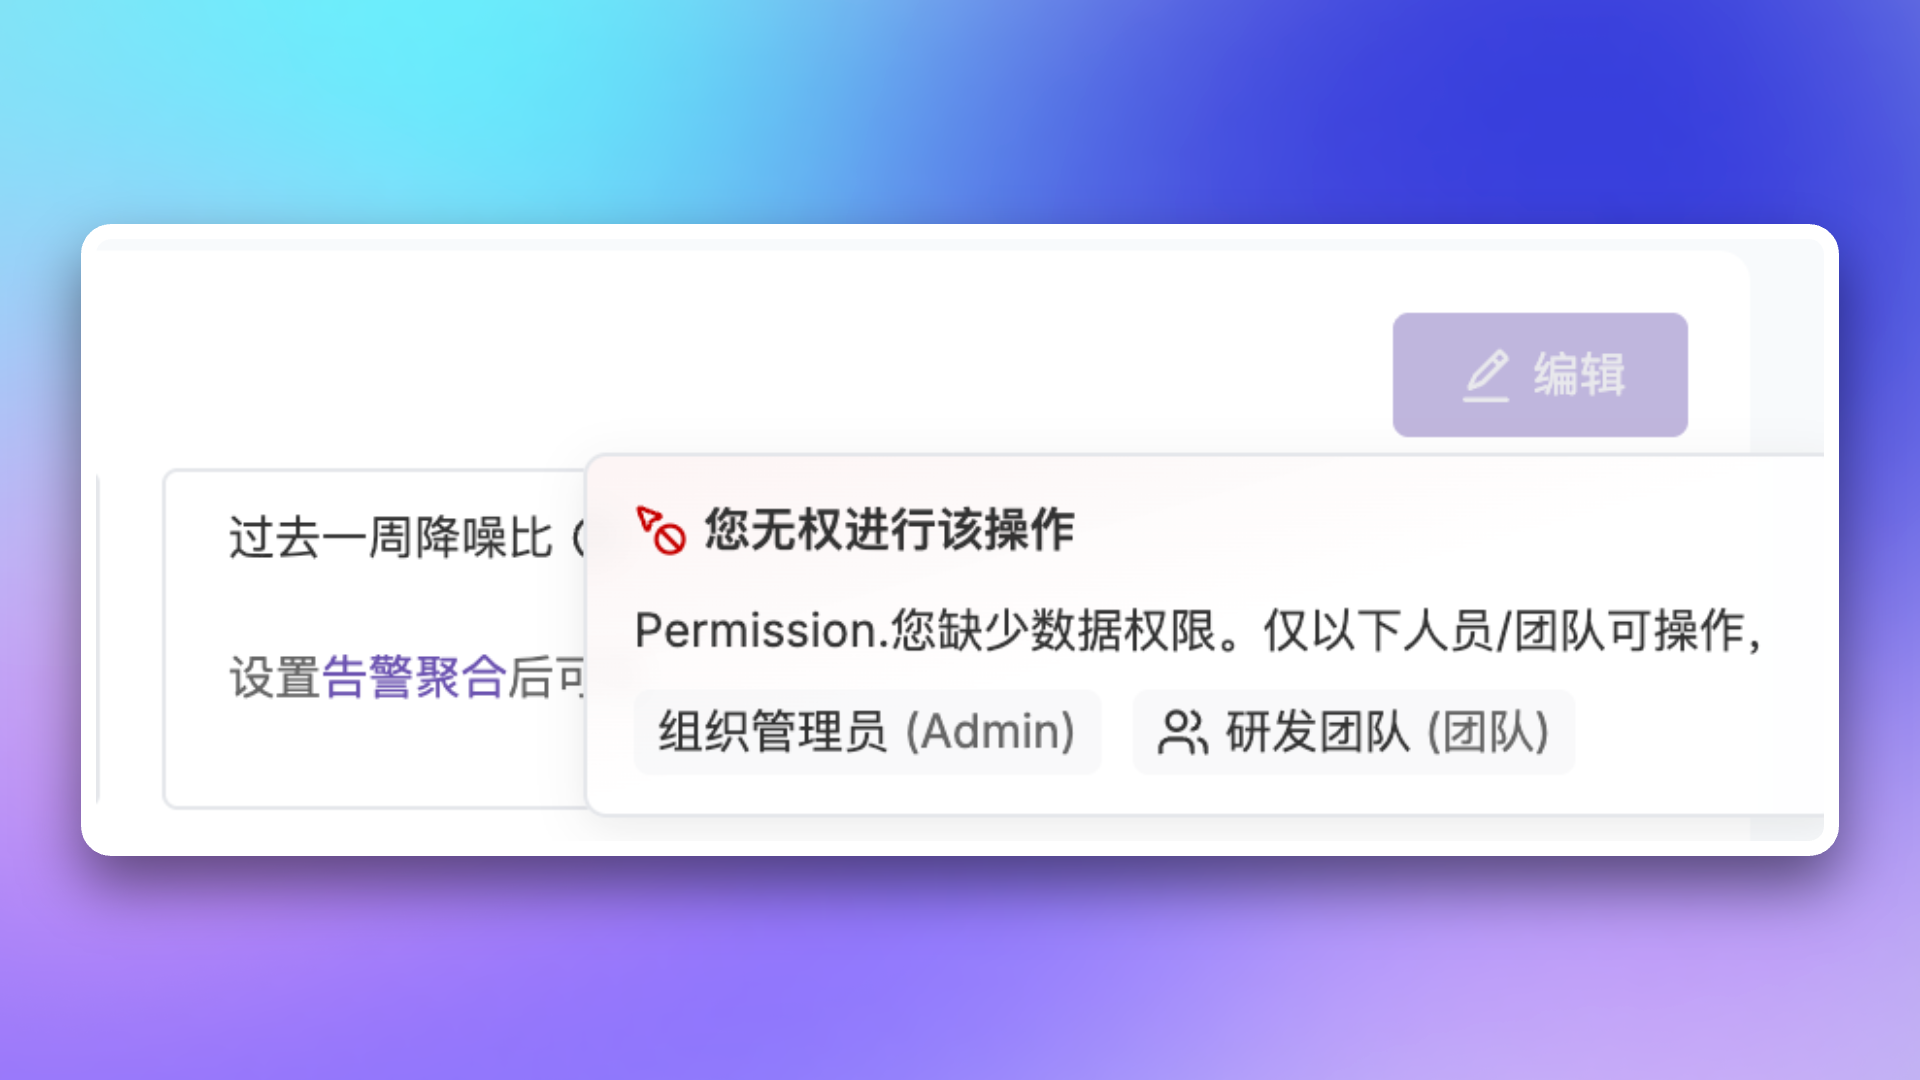
When you don’t have data permissions for a resource, the system will display the following message:
Legacy Role Migration
Legacy Role Description
Migration Mapping
Compatibility Notes
The following scenarios will automatically grant the Viewer role to ensure members have basic access permissions:- When inviting new members via Open API without specifying a role
- When automatically creating members through Single Sign-On (SSO) without specifying a role
Related Topics
Team Management
Learn about team and member management
Single Sign-On
Configure SSO for unified identity authentication